How to Sign Up/Register on Cardiast: A Step-by-Step Guide
Cardiast is a powerful app that revolutionizes the way you manage your business cards. In this tutorial, we will walk you through the process of signing up and registering on Cardiast, so you can start leveraging its incredible features. Follow the steps below to get started with Cardiast today!
Step 1: Download the Cardiast App To begin, download the Cardiast app from your respective app store. If you are an Android user, click Play Store to download the app from the Play Store. For iPhone users, download it from the App Store. Alternatively, if you are viewing this on your smartphone, click Here to be redirected to the appropriate store for downloading and installing the app.
Step 2: Open the App and Explore Key Features Once you have installed the app, open it on your device. The app will provide an overview of its key features. Familiarize yourself with the app’s functionalities as they will enhance your experience.

Step 3: Access the Registration Screen On the bottom screen of the app, you will find the Get started or Sign In Option. Tap on the “Get started” button to proceed to the registration screen.
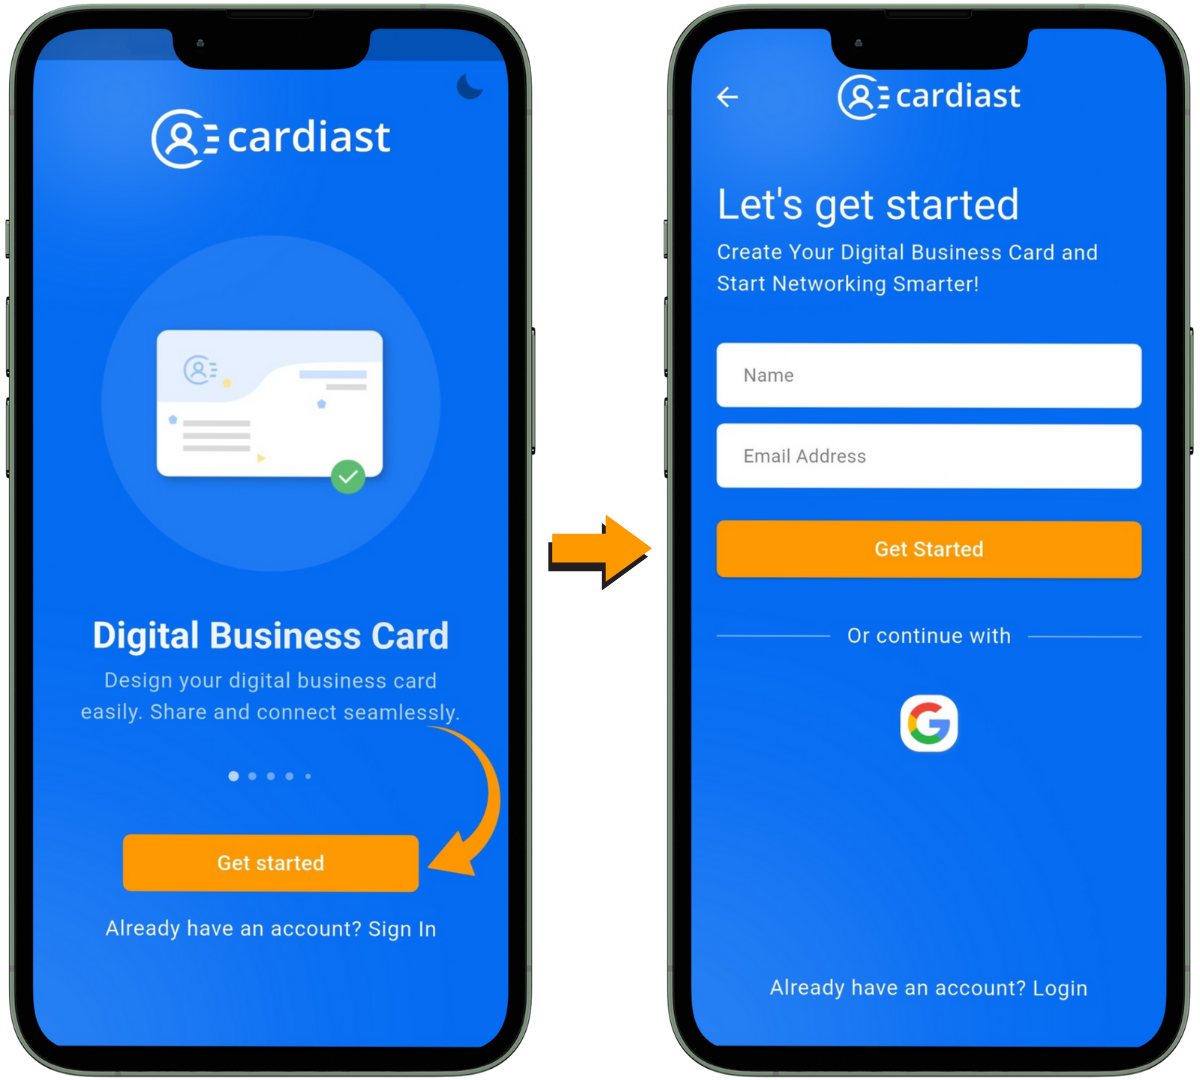
Step 4: Select Your Registration Method You have two options for registration:
- Register with your Gmail or Apple account (available for Apple users).
- Create an account with your email.
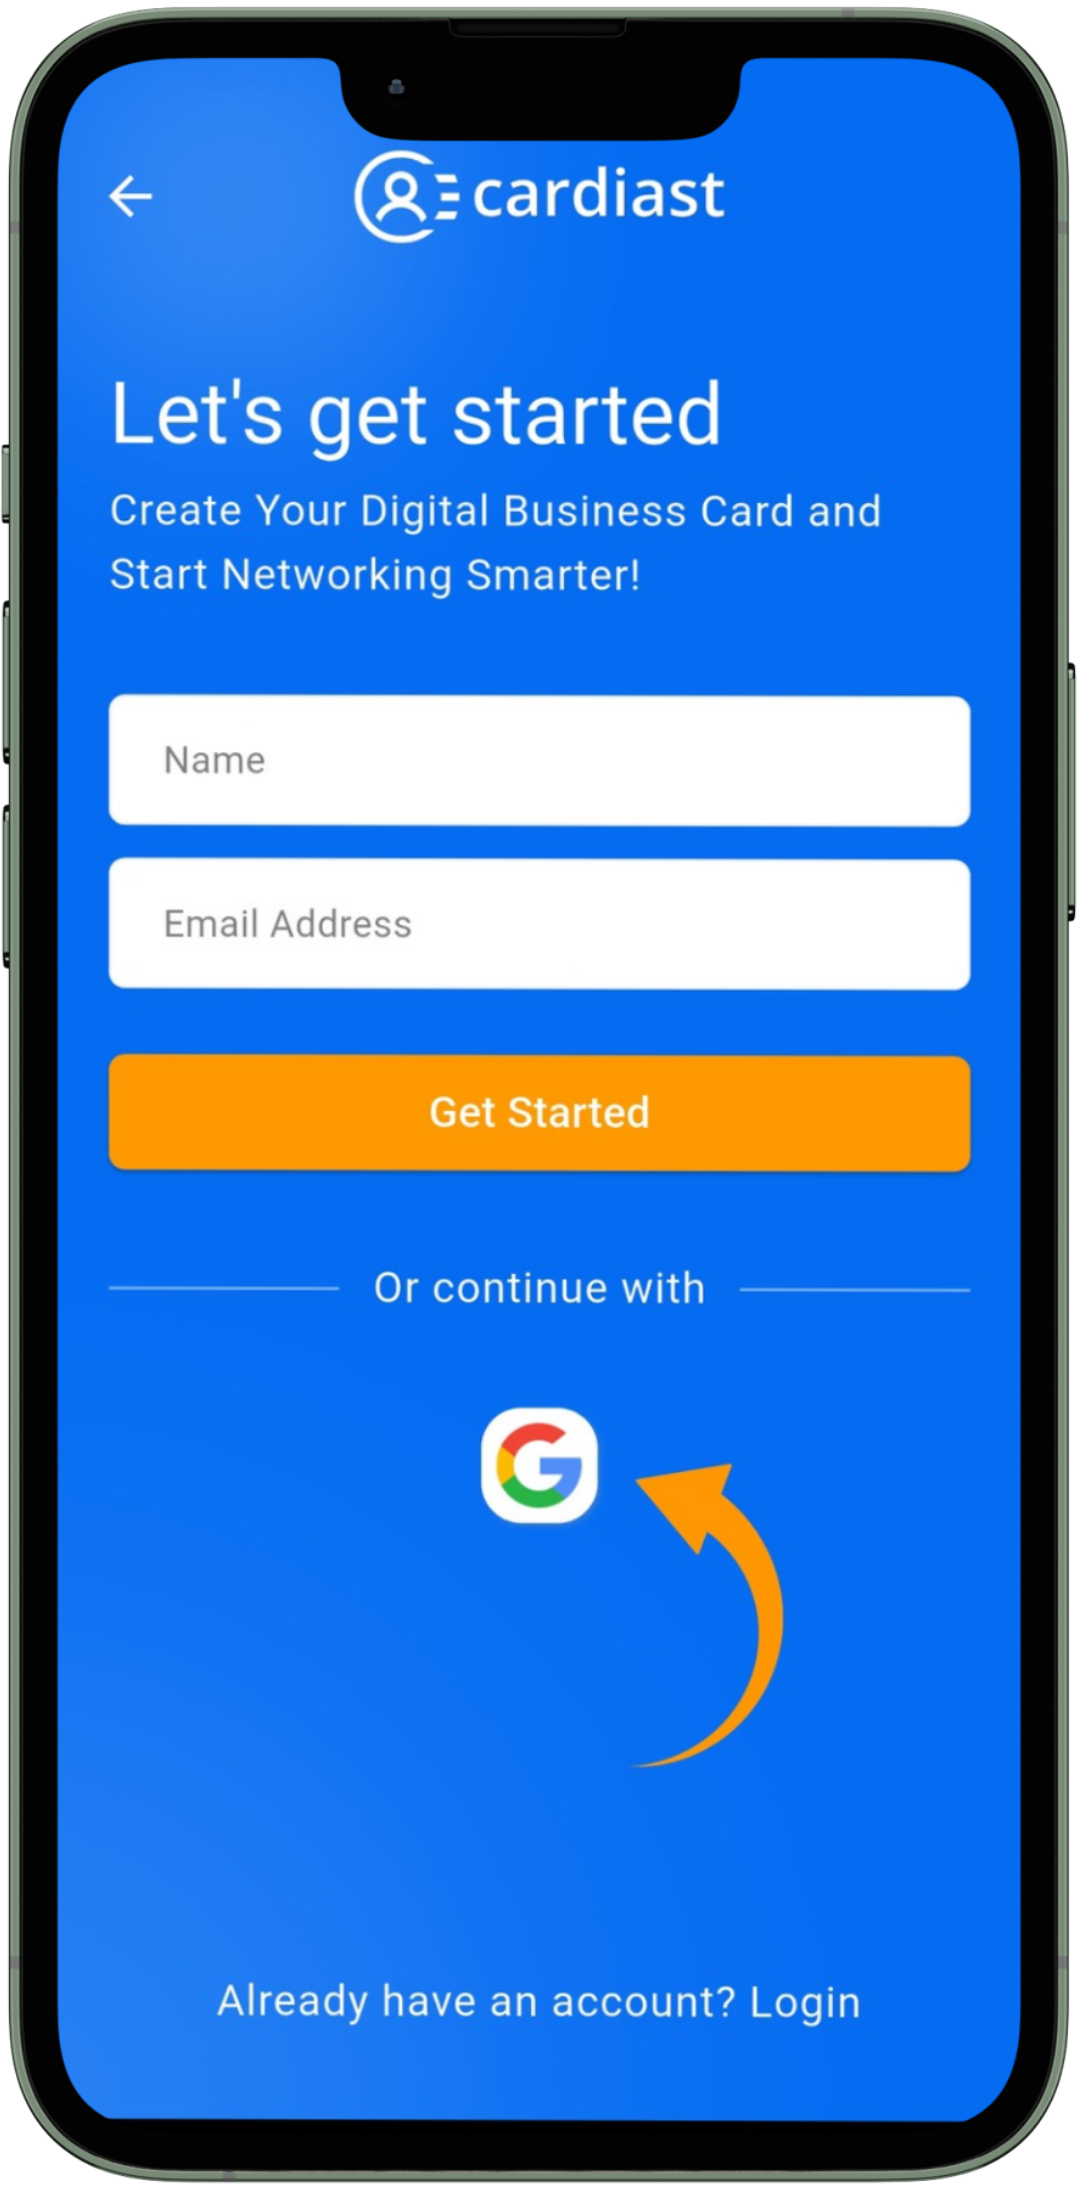
Step 5: Register with your Gmail or Apple If you choose to register with an existing Gmail or Apple account, simply tap on Gmail or Apple icon to log in with your credentials.
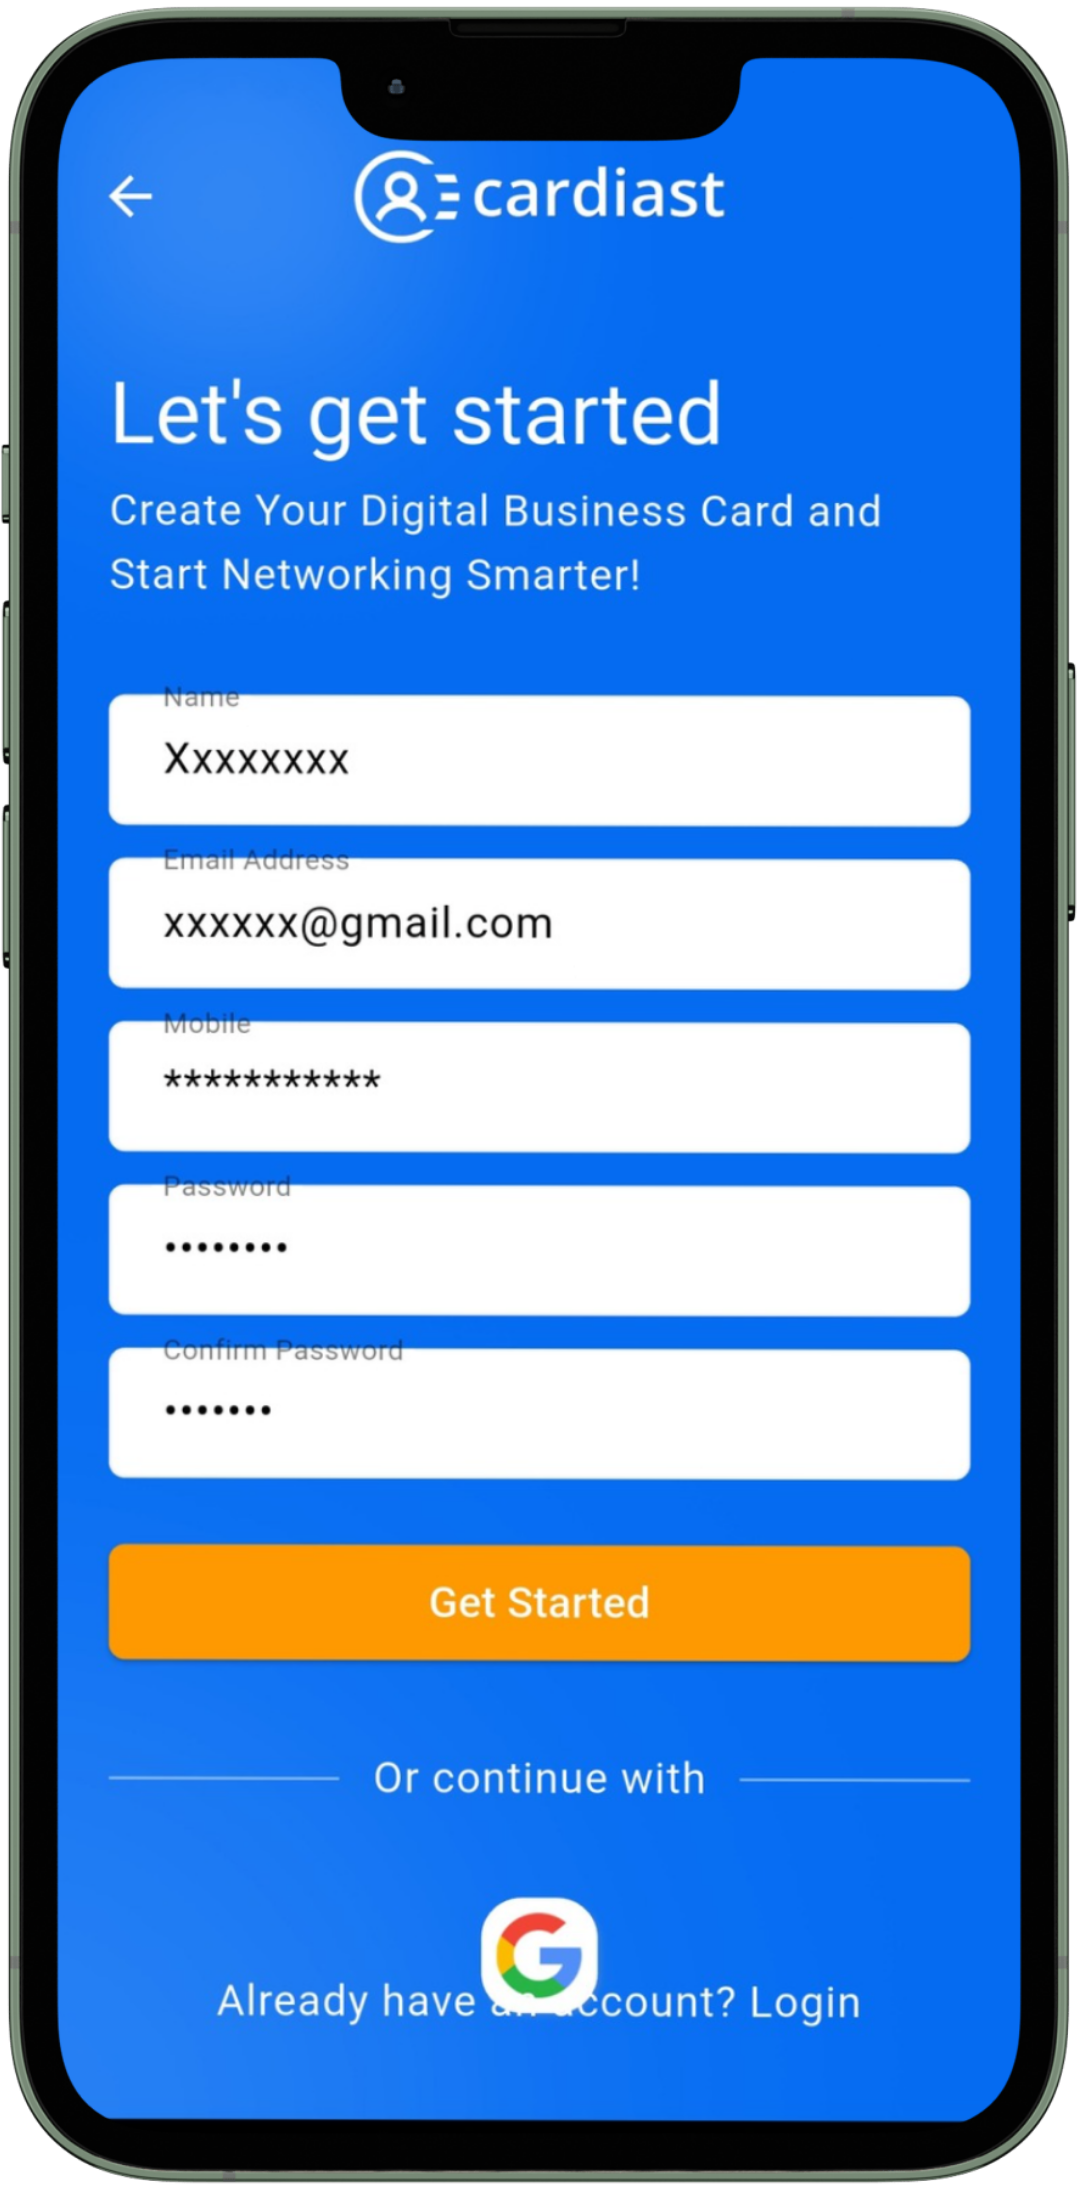
Step 6: Create an Account with Your Email For email registration, enter your name, email, phone number, address and set a password for your account. Ensure that the provided information is accurate.
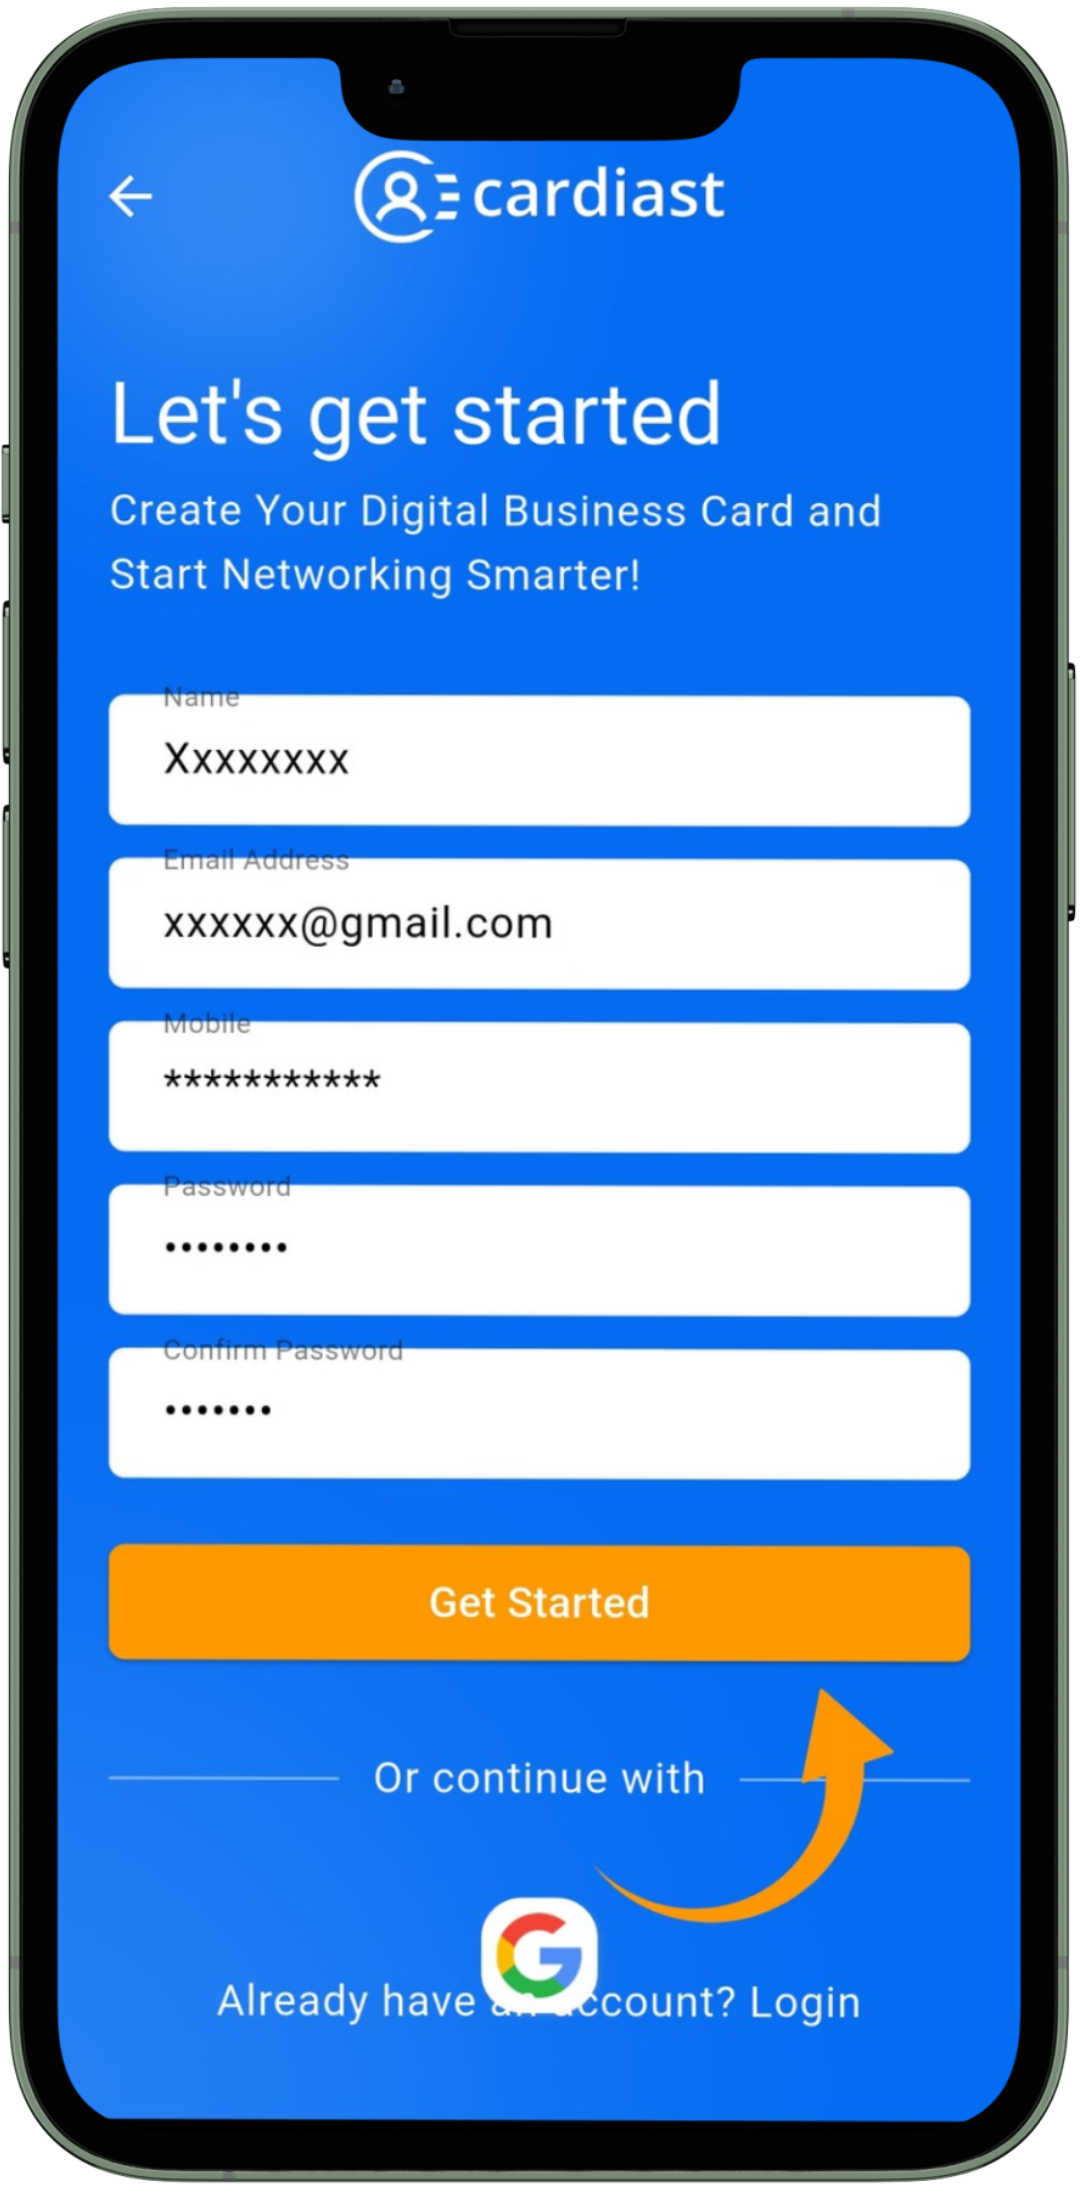
Step 7: Submit Your Registration After filling in the required details, tap on the “Get started” button to create your Cardiast account.
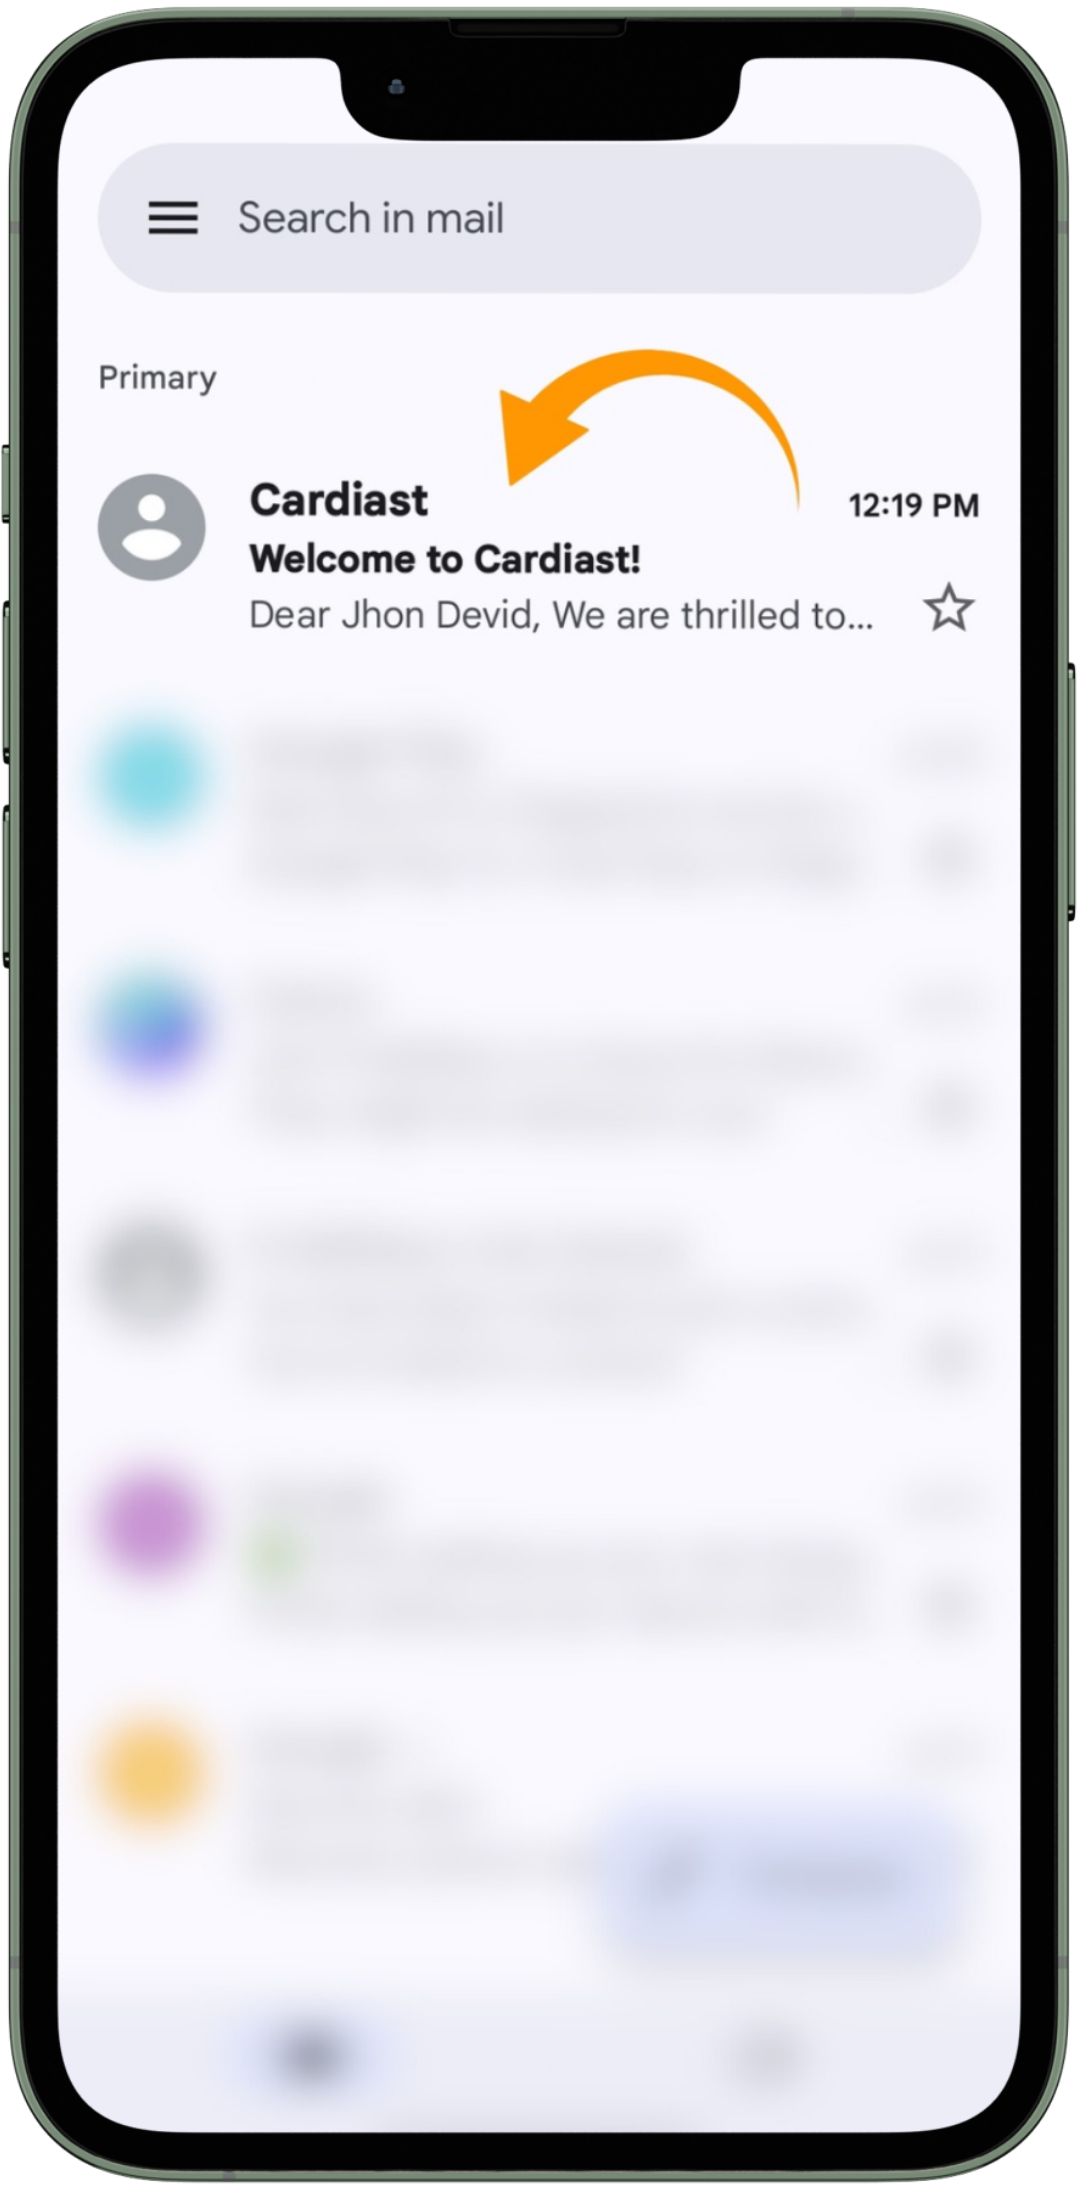
Step 8: Verify Your Email To complete the registration process, verify your email address as soon as possible. Check your inbox for a verification email from Cardiast and follow the instructions provided.
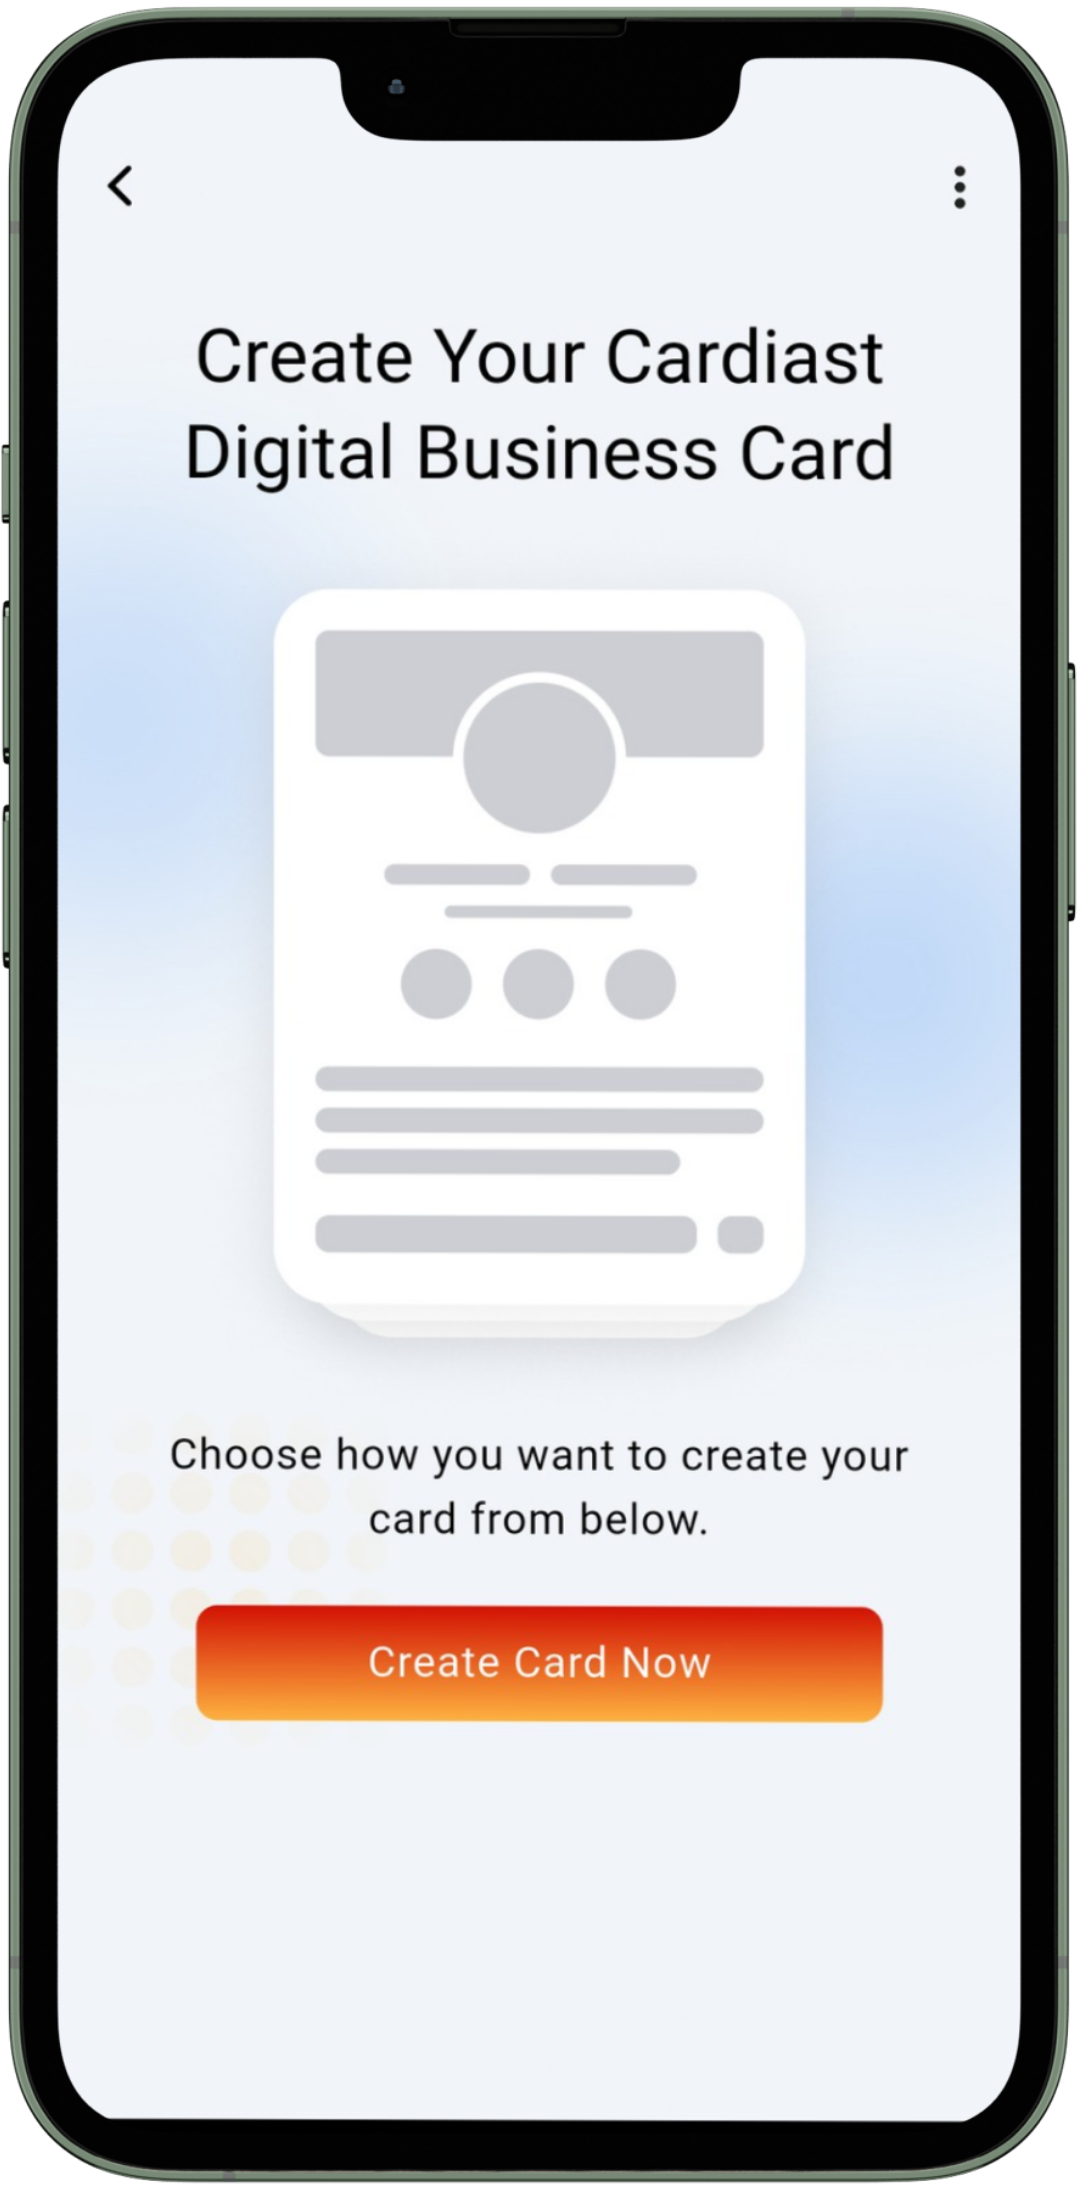
Step 9: Create Your Cardiast Digital business Card: Once your account is verified, you will be directed to the app’s main screen. Here, you will find an option to Create Your Cardiast Digital business Card. Tap on the “Create Card Now” and follow the on-screen instructions to design and personalize your card.
Congratulations! You have successfully signed up and registered on Cardiast. By following this step-by-step guide, you are now ready to explore the app’s extensive features and manage your business cards effortlessly. Enjoy the convenience and efficiency that Cardiast offers in networking and card management.